



Stand next to a well-kept car on a sunny day, and the paint behaves like a mirror. Clouds overhead, trees above you, the shape of a nearby building all reflect back cleanly. Now stand next to a car that has been through a few years of automatic washes and sponge-based hand cleaning, and the picture is very different. Faint circular scratches crawl across the bonnet, a hazy veil covers the clear coat, and what should be deep gloss has flattened to something closer to matte.
If you have ever wondered how professional detailers bring that mirror back, the answer is paint correction, carried out through careful machine polishing. This guide walks you through what the process actually involves, the difference between Stage 1 and Stage 2 work, how swirl marks and scratches form in the first place, and what to expect when you book a correction job in Hertfordshire. By the end, you should feel confident choosing the right service for your vehicle and your budget.
What Paint Correction Actually Is
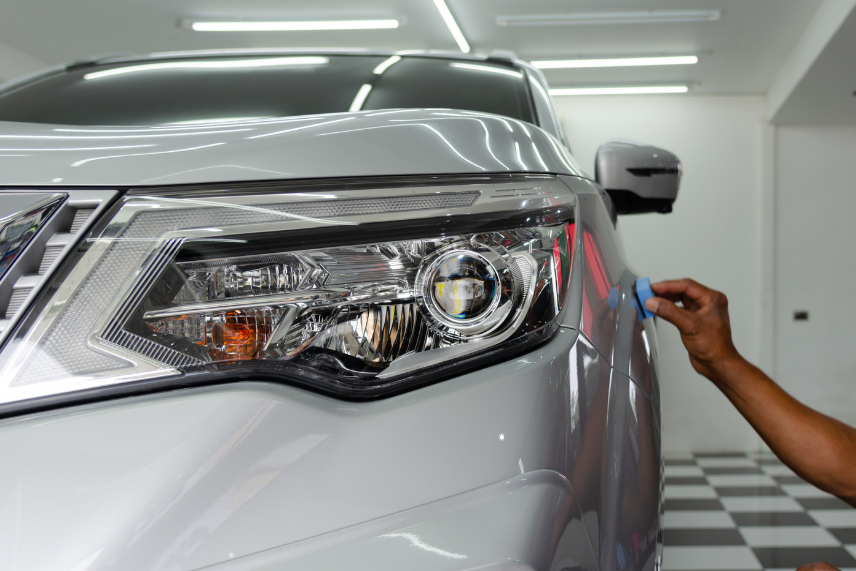
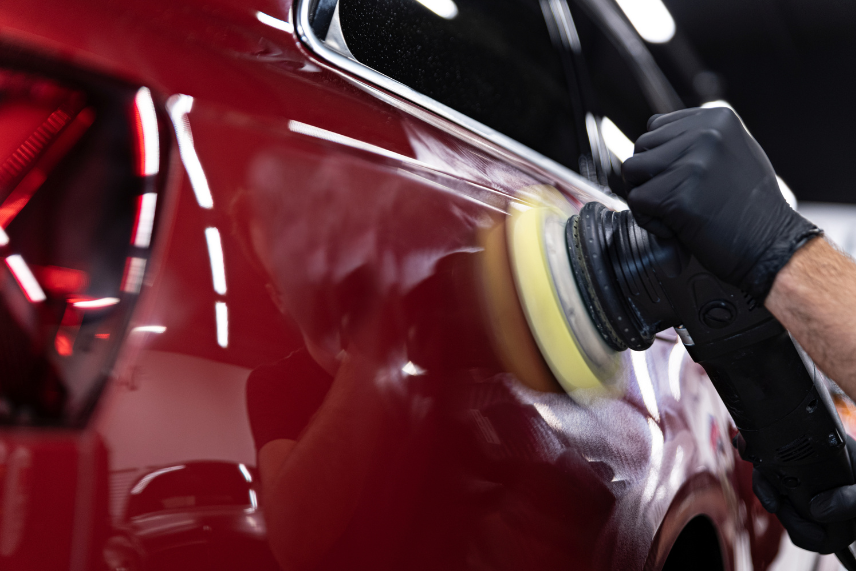
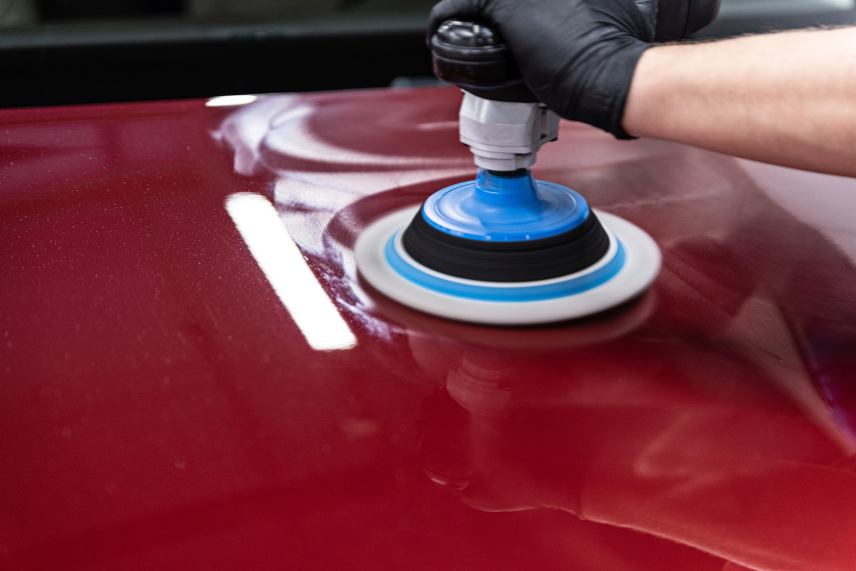
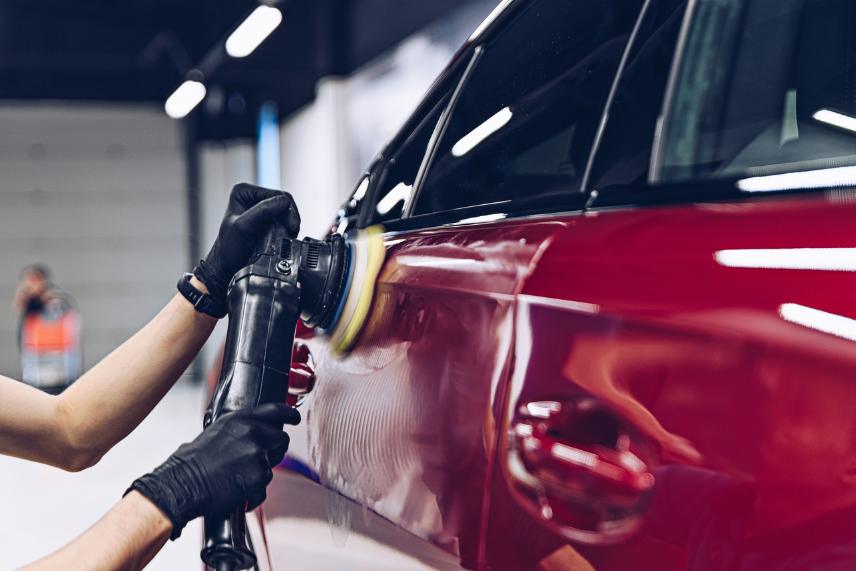
Paint correction is the mechanical removal of defects from the clear coat using abrasive polishes and a powered machine. The word correction is deliberate: this is not polish you apply with a cloth to mask the problem. It permanently levels the top layer of lacquer so that light reflects uniformly off the surface again.
Your vehicle’s paint sits in layers. On top of a primer and base colour coat is the clear coat, a transparent lacquer typically between 40 and 60 microns thick. Almost every defect you notice from across a car park lives in that clear coat, not the colour itself. Correction removes a very small amount of that lacquer, somewhere between 2 and 10 microns depending on the stage, to bring the surface flush with the deepest point of the defects. Once levelled, the clear coat reflects light cleanly rather than scattering it, which is why gloss appears to return.
Searches for car paint correction near me tend to spike after owners notice their paint looking tired under direct sunlight. The condition rarely improves on its own. Washing, waxing, and spray sealants may hide the symptoms briefly, but only mechanical work removes the cause.
Understanding Swirl Marks, Scratches, and Other Defects
Before you can appreciate what a correction does, it helps to know what it is actually fixing. Clear coat defects fall into a handful of distinct categories, each with its own cause and depth.
Swirl marks are the fine, circular scratches most visible under direct sun or an LED inspection light. They almost always come from wash technique: a dirty mitt, a shared sponge at a petrol-station wash, or a drive-through tunnel with recycled grit in its brushes. They tend to be shallow but numerous, giving paint a hazy, cobweb-like appearance.
Random isolated scratches are the thin lines that run in straight directions rather than circles. Keys brushing against a door, a bag strap being dragged across a boot lid, a hedge touching a wing mirror. These sit deeper than swirls and sometimes catch a fingernail, which is a useful home test.
Bird droppings and water etching are chemical, not mechanical. Uric acid in bird droppings and the mineral deposits left behind by evaporated water can bite into the clear coat, leaving ring-shaped marks that no amount of washing will shift.
Buffer trails and holograms are a special category because they come from previous, poorly executed polishing. If you use a wheeled polisher too aggressively or without the right pads, it leaves straight streaks visible in certain light. Good correction removes these as well.
For a wider read on this topic and the techniques used across different conditions, our dedicated guide to Paint Correction goes into further depth.
Stage 1 Paint Correction Explained
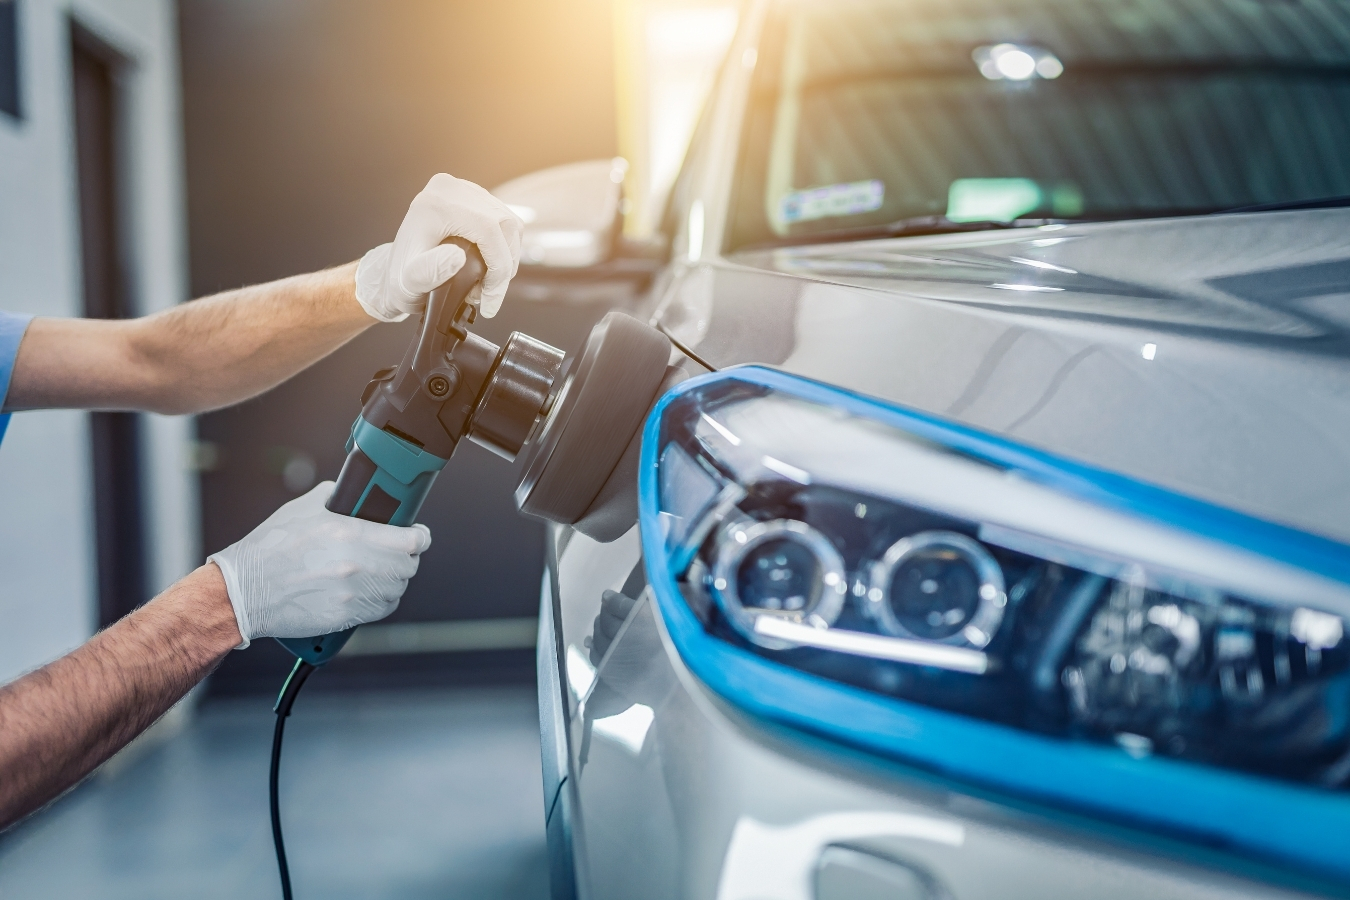
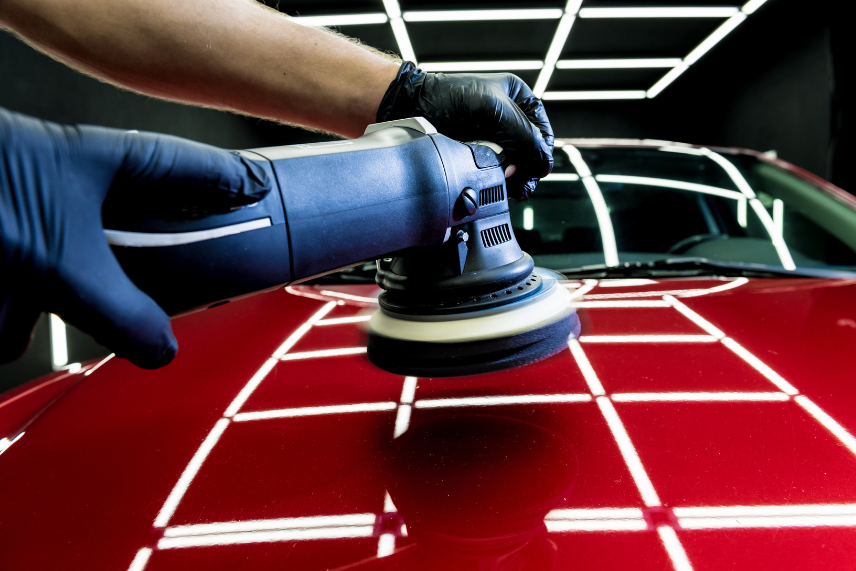
Stage 1 is often described as an enhancement rather than a full correction, and that framing is accurate. It uses a single polishing stage, typically a medium-cut compound paired with a foam or microfibre pad on a dual-action machine, to remove roughly 70% to 80% of visible defects in one hit.
Stage 1 targets swirl marks, light wash marring, light oxidation, and the general dullness that creeps in over three to five years of ordinary use. Deeper scratches that would need multiple passes to fully remove are usually softened rather than erased, so the eye no longer picks them up at normal viewing distance.
A typical Stage 1 job on a saloon or hatchback takes six to ten hours of actual machine time, spread across a one- or two-day booking. The result is a noticeably glossier, deeper finish, and a car that photographs significantly better in daylight. It is the right choice when:
- Your vehicle is between two and seven years old
- You want a dramatic visual improvement without the cost of full correction
- You are planning to sell and want the paint to show at its best
- You intend to add a ceramic coating afterwards and want a clean base
Stage 1 is also the usual starting point for anyone unsure which service they need. A good detailer will assess the paint under proper lighting before quoting, and will tell you honestly whether Stage 1 will meet your expectations or whether a deeper correction is required.
Stage 2 Paint Correction Explained
Stage 2 is where things get serious. It uses two separate polishing stages: a heavier cutting compound to remove the defects themselves, followed by a refining polish to erase any micro-marring the first stage leaves behind. The goal is 90% to 95% defect removal, with the remaining few percent being scratches so deep that going any further would compromise clear coat thickness.
The work takes significantly longer. A full Stage 2 correction on a mid-size car can take 15 to 25 hours, spread over two to four days. Larger vehicles, those with harder paint such as some German manufacturers, or neglected cars that need extensive clay bar decontamination before polishing can begin can push that time even further.
Stage 2 is appropriate when:
- Your car is older or has been through many automated washes
- Deep scratches, holograms from previous polishing, or heavy swirling are present
- You want the finish restored as close to factory-fresh as safely possible
- The car holds significant value, financial or sentimental, and deserves the full treatment
Before quoting for Stage 2, a technician will measure the clear coat thickness at multiple points using a paint depth gauge. This prevents removing too much lacquer from an already-thin area, which would otherwise expose the colour coat and require a respray to fix. Avoid a detailer who skips this measurement step.
The Machine Polishing Process Step by Step
It helps to see how machine polishing car Hertfordshire specialists actually spend those hours. The process is methodical, and skipping steps shows in the final result.
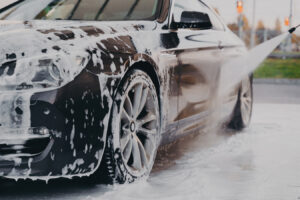
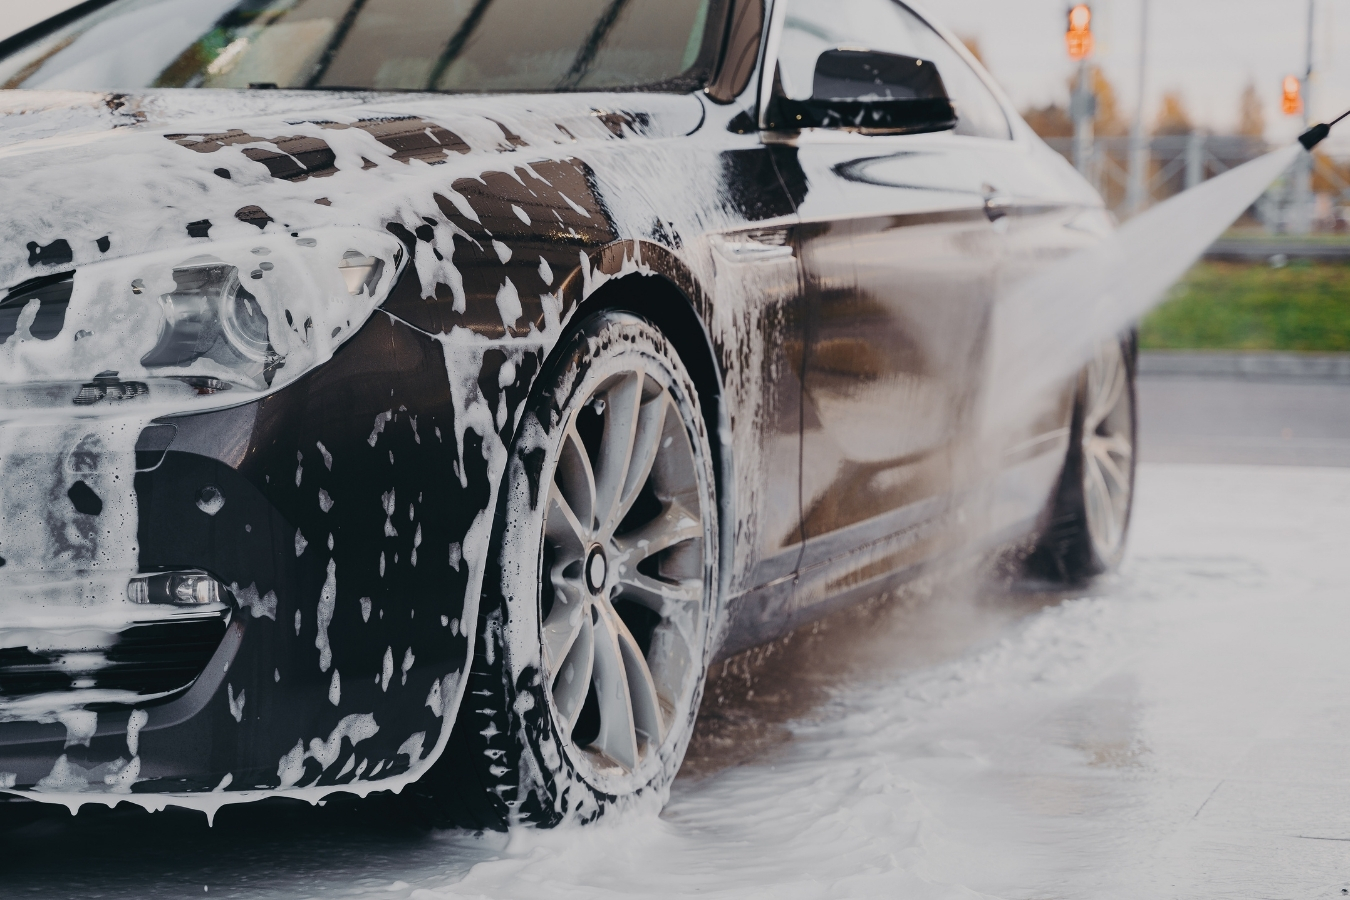
- Thorough decontamination wash. Snow foam, two-bucket contact wash, iron fallout remover, and tar spot treatment. Any grit left on the panel will be dragged across the paint by the polishing pad.
- Clay bar or clay mitt. This removes bonded contamination that washing cannot shift. Afterwards, running a hand over the paint should feel like glass.
- Paint depth measurement. Readings are taken on the bonnet, roof, boot, each door, and wings. Anything significantly thinner than the surrounding areas is flagged and polished more conservatively.
- Test panel. A small area, often a lower section of the bonnet, is polished first to confirm pad and compound choice. This informs the plan for the rest of the vehicle.
- Panel-by-panel correction. The technician works in small sections, typically 40 by 40 centimetres, with the machine moving slowly in overlapping passes. The technician wipes and inspects each section under LED lighting before moving on.
- Refining stage (Stage 2 only). A finer polish on a soft pad removes any haze left by the cutting stage, bringing out maximum gloss.
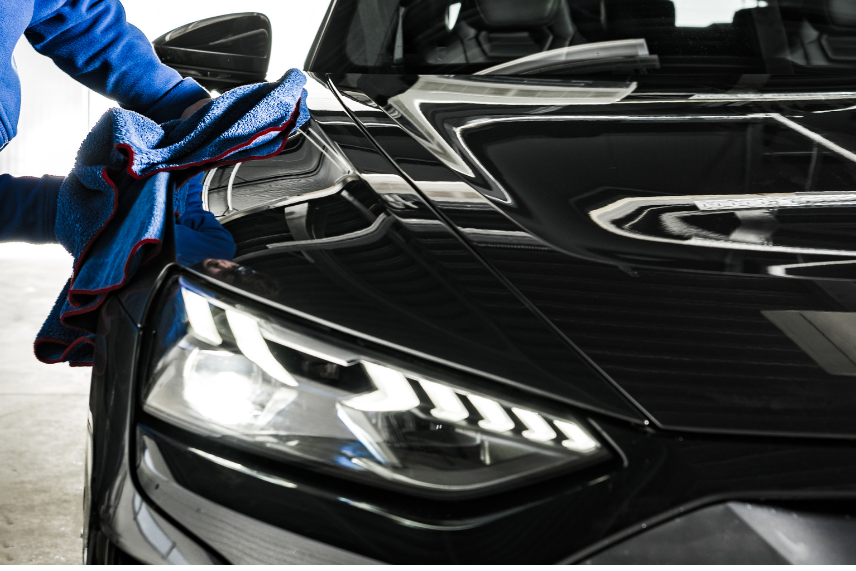
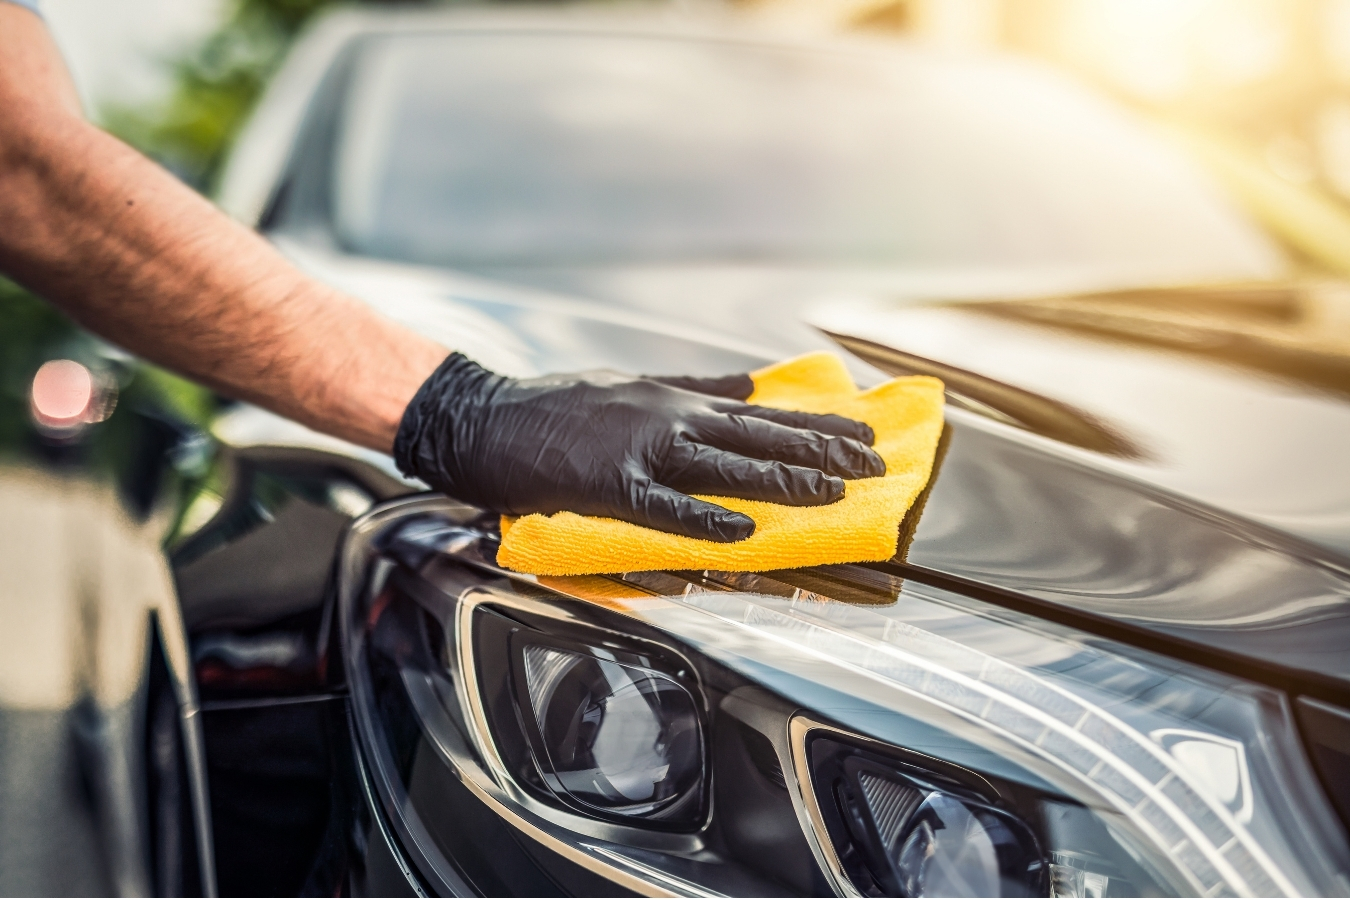
- Panel wipe. An isopropyl alcohol solution removes polishing oils, giving a true picture of the finish and preparing the surface for whatever protection is applied next.
Throughout the process, a professional technician checks their work constantly with LED torches and 3M swirl spotters because artificial light exposes defects daylight hides. If someone is correcting your paint under fluorescent strip lights only, they will miss things.
How to Choose Between Stage 1 and Stage 2
Most people call for a quote expecting the detailer to tell them which stage they need. A trustworthy answer comes only after an in-person inspection, but a few indicators will usually point you in the right direction before you ever pick up the phone.
Walk your car outside on a sunny day. Hold a torch close to the bonnet in a shaded area. Then run a fingernail lightly over any scratches you can see. Ask yourself:
- Are most defects shallow, cobweb-style swirls visible only under direct light? Stage 1 will likely transform the paint.
- Do you see straight-line scratches that catch a fingernail, holograms from previous polishing, or heavy oxidation on horizontal panels? Stage 2 is probably the right call.
- Is this a 20-year-old classic you plan to show at Goodwood or a near-new lease returning next month? Those edge cases need a conversation, not a template answer.
Budget also plays a part. Stage 1 is typically a third to half the price of a full Stage 2 job because of the hours involved. For many owners, especially those planning to use the car daily rather than concours it, Stage 1 followed by a durable sealant delivers the best balance of appearance and value. For a full breakdown of the two options and what each service includes, see Stage 1 and Stage 2 Paint Correction on our main services menu.
The other factor worth weighing is time off the road. Full Stage 2 work means the car will be away for several days. If that works for you, you get a result that will outlast the warranty on most new cars. If not, Stage 1 can usually be completed inside two days.
Protecting the Finish After Correction
Here is the uncomfortable truth no one tells you at a car wash: the moment paint correction is finished, the clock starts ticking on the next layer of damage. Without protection, swirl marks begin returning the first time a sponge touches the panel. That is why correction and protection are almost always booked together.
Three main options exist for sealing in your work:
- Wax, lasting six to twelve weeks, giving a warm shine but minimal durability
- Synthetic sealant, lasting four to six months, offering stronger chemical resistance
- Ceramic coating, lasting two to seven years depending on grade, providing the hardest shell and the easiest ongoing cleaning
For anyone investing in Stage 2 work, a ceramic coating is the logical pairing. The paint has never looked better and never will again without further correction, so locking that finish in with a proper nano-ceramic layer makes financial sense. Our write-up on Ceramic Coating explains how the chemistry works, how long you can expect each grade to last, and what maintenance it needs.
After protection, a careful wash routine does the rest. Use two buckets, a lambswool mitt, pH-neutral shampoo, and a plush drying towel. Avoid drive-through car washes and sponge-based petrol-station services entirely. Done this way, a correction will hold its appearance for years, not months.
Why Trust Local Specialists in Hertfordshire
Paint correction is unforgiving work. One over-aggressive pass burns through a clear coat, and no amount of refining will put the lacquer back. That is why the technician’s skill matters more than the brand of machine or the price of the compound.
In Hertfordshire, our team sees a varied mix of vehicles come through the workshop: executive German saloons from Watford commuters, family SUVs from Bushey, convertibles from the Chiltern villages, and the occasional restoration project from the Rickmansworth classic car scene. Each type of paint behaves differently under the pad, and years of local experience across these marques let us pick the right combination the first time.
Searches for car paint scratch repair detailing near me usually come from drivers who have had a bad experience with a non-specialist, or who are nervous after reading horror stories online. The best protection against that outcome is choosing someone who measures, tests, and documents before polishing, and who shows you the finish under proper lighting before you pay. We photograph every correction job before and after as standard, and will walk you through the paint depth readings when you collect the car.
We cover the whole of South and West Hertfordshire, with regular work in Watford, Bushey, St Albans, Hemel Hempstead, Harpenden, and the villages between. Full correction jobs are typically handled at the workshop, where lighting and climate control allow for the longer sessions involved.
Book a Paint Correction Assessment
If your paint no longer catches the light the way it did when you drove the car home, a proper assessment will tell you exactly what can be done, how long it will take, and what it will cost. Glosslabz offers free in-person inspections across Hertfordshire, with photos, paint depth readings, and a written quote before any work begins.
Get in touch through the website or by phone, send a few photos of the panels you are most concerned about, and we will get back to you with honest advice on whether Stage 1, Stage 2, or a lighter enhancement is the right fit for your vehicle and budget.
Frequently Asked Questions
How long does a car paint correction near me service take?
Stage 1 usually takes one to two days on a saloon or hatchback. Stage 2 takes two to four days, depending on paint hardness and defect depth. Larger SUVs and neglected cars sit at the longer end of each range.
Will paint correction remove deep scratches?
It removes scratches that sit within the clear coat. If a scratch has broken through to the colour coat or primer, no amount of polishing will erase it. Those need touch-up paint or a localised respray.
How much clear coat does the process remove?
Stage 1 typically removes 2 to 4 microns; Stage 2 removes 5 to 10 microns. Factory clear coat is 40 to 60 microns thick, so even a full Stage 2 leaves most of the lacquer intact. We measure before and after on every job.
Can paint correction be done on older or classic cars?
Yes, but older paint systems need extra care. Single-stage paints common on pre-1990 cars respond differently to compounds than modern clear coats. We handle classics regularly and adjust technique accordingly.
Will the swirls come back?
Only if washing technique returns them. Pair the correction with a durable protection layer and switch to a safe two-bucket wash routine, and the finish will last for years.
Do I need Stage 2 if my car is only three years old?
Usually not. Most three-year-old cars respond beautifully to Stage 1, especially if they have been reasonably well looked after. We will tell you honestly if a cheaper option will meet your expectations.
Is paint correction safe on wrapped or PPF-covered cars?
Not by the same methods. Vinyl wraps and paint protection film have their own cleaning and renewal processes, and running an abrasive compound over them will cause damage. Let us know in advance if your car is wrapped.
Do you offer paint correction at my home or only at the workshop?
We handle full Stage 2 work at the workshop because consistent lighting and controlled conditions are essential for a quality result. Stage 1 can sometimes be performed on site if weather, space, and lighting allow.